Proper Front Rack For Most Productive Front Squat

Andrew Williams • August 26, 2026

A Better Front Rack Makes a Better Front Squat
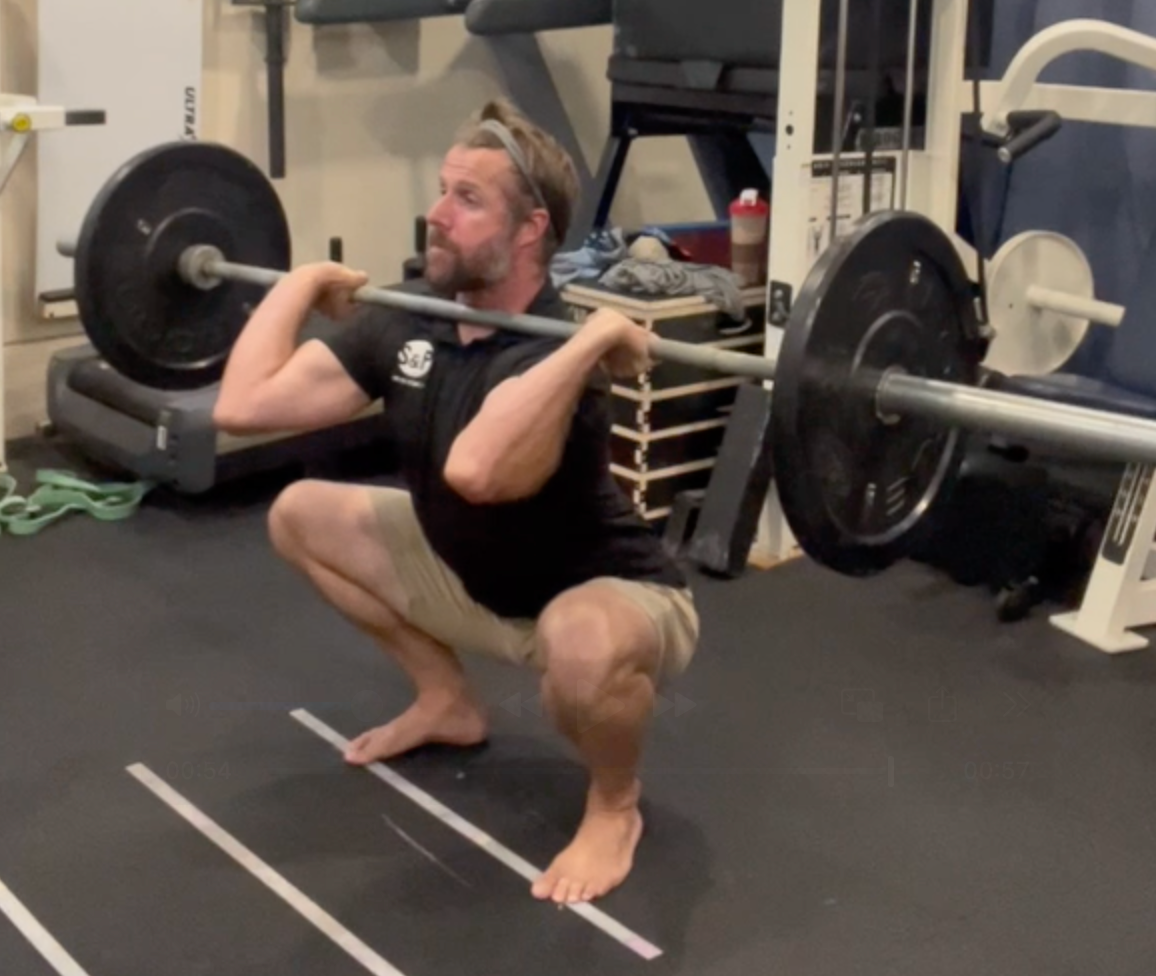
The front squat is one of the best movements for developing leg strength, trunk control, upper-back strength, and confidence in a deep squat. It can also be an extremely useful teaching exercise because the position of the bar gives immediate feedback: when posture, balance, or tension starts to break down, the bar usually lets you know.

But the front squat only works well when the lifter has a front rack position that is stable enough to support the bar.

A poor front rack can turn an otherwise productive squat into an uncomfortable battle with the wrists, shoulders, elbows, neck, and lower back. A good front rack does not need to look identical from person to person, but it does need to create a secure platform for the bar while allowing the lifter to maintain balance and control throughout the squat.

What Is the Front Rack?

In a traditional front squat, the bar rests across the front of the shoulders, generally contacting the front deltoids and the upper portion of the chest.

The hands help control the bar, but they should not be responsible for holding all of its weight.

That distinction matters.

When the bar is supported primarily by the hands, the wrists are forced into excessive extension, the elbows tend to drop, and the upper body often pitches forward. The lifter may feel as though the bar is slipping, choking them, or pulling their shoulders into an uncomfortable position.

In a strong front rack:

  • The bar is supported by the shoulders.
  • The elbows stay elevated enough to maintain the shelf.
  • The upper back remains active.
  • The trunk stays organized.
  • The hands guide the bar rather than carrying it.

The goal is not simply to “get the elbows as high as possible.” The goal is to create a position that is stable, repeatable, and appropriate for the individual lifter.

Why the Front Rack Matters for Safety

No single position can guarantee that an exercise is completely safe. However, a strong front rack gives the lifter a much better opportunity to control the movement and distribute load appropriately.

When the front rack is unstable, several common compensations can appear.

The elbows drop

As the elbows fall, the upper back may round and the bar may begin rolling forward. The lifter then has to fight to keep the bar from falling rather than concentrating on the squat itself.

The wrists take too much pressure

Many people assume that wrist pain during front squats means they simply need more wrist flexibility. Sometimes wrist mobility is part of the issue, but often the bigger problem is that the bar is not being supported well by the shoulders and upper back.

The wrists should not feel as though they are carrying the entire bar.

The chest collapses

When the upper back loses tension, the torso may tip forward. This shifts the lifter away from the balanced, upright position that usually makes the front squat most productive.

The lower back overextends

Some lifters try to keep the chest upright by aggressively arching the lower back and flaring the ribs. This can create the appearance of an upright torso without the control needed to maintain a strong trunk.

A better front rack helps the lifter keep the bar close to the body’s center of mass without relying on excessive wrist pressure, upper-back rounding, or lower-back extension.

A Good Front Rack Improves the Entire Squat

The front rack is not just an upper-body mobility position. It affects nearly every part of the lift.

When the bar is secure, the lifter can focus on:

  • Maintaining pressure through the feet
  • Controlling the descent
  • Keeping the knees and hips organized
  • Preserving trunk tension
  • Driving smoothly out of the bottom
  • Progressively adding load

A poor rack position creates noise. The lifter becomes distracted by discomfort, instability, and the fear that the bar will roll forward.

A good rack position removes some of that noise.

It allows the front squat to become what it should be: a lower-body strength exercise performed with strong postural control.

The Front Rack Is Not Just About Wrist Mobility

Wrist mobility receives a lot of attention, but the position is influenced by several areas of the body.

Shoulder mobility

The shoulders need enough flexion and external rotation to allow the hands and elbows to reach the bar comfortably.

Upper-back mobility

The thoracic spine must be able to maintain an upright, organized position. A stiff or rounded upper back can make it difficult to keep the elbows elevated.

Latissimus flexibility

The lats attach to the upper arm and can limit overhead and front rack positioning when they are particularly stiff or overactive.

Triceps flexibility

The long head of the triceps also crosses the shoulder and can influence the ability to position the upper arm.

Scapular control

The shoulder blades need to move around the rib cage while the upper back remains active. A front rack is not simply a passive stretch; it is an active strength position.

Trunk control

The lifter must be able to keep the ribs and pelvis organized while reaching the elbows forward. Without trunk control, the body may compensate by leaning back or overextending the lower back.

This is why stretching the wrists for a few minutes is often not enough. The restriction may be coming from the shoulders, upper back, lats, triceps, or the lifter’s overall ability to control the position.

What Should a Front Rack Feel Like?

A front rack may initially feel tight, especially for someone who is new to the movement. Tightness is different from sharp pain, numbness, tingling, or significant joint discomfort.

A productive front rack should feel:

  • Secure across the shoulders
  • Active through the upper back
  • Controlled through the trunk
  • Relatively light in the hands
  • Repeatable from rep to rep

Some pressure across the front of the shoulders is normal. Severe wrist pain, aggressive elbow pain, numbness in the hands, or a feeling that the bar is crushing the throat should not simply be ignored.

The position should be adjusted to the individual.

You Do Not Need a Perfect Clean Grip

A full clean-style grip, with all fingers wrapped around the bar, can be useful for athletes who perform cleans. It is not mandatory for every person who wants to front squat.

Depending on the lifter’s goals and mobility, several options may work:

  • Full clean grip
  • Two- or three-finger front rack
  • Strap-assisted front rack
  • Cross-arm grip
  • Safety squat bar or front-squat harness
  • Goblet squat
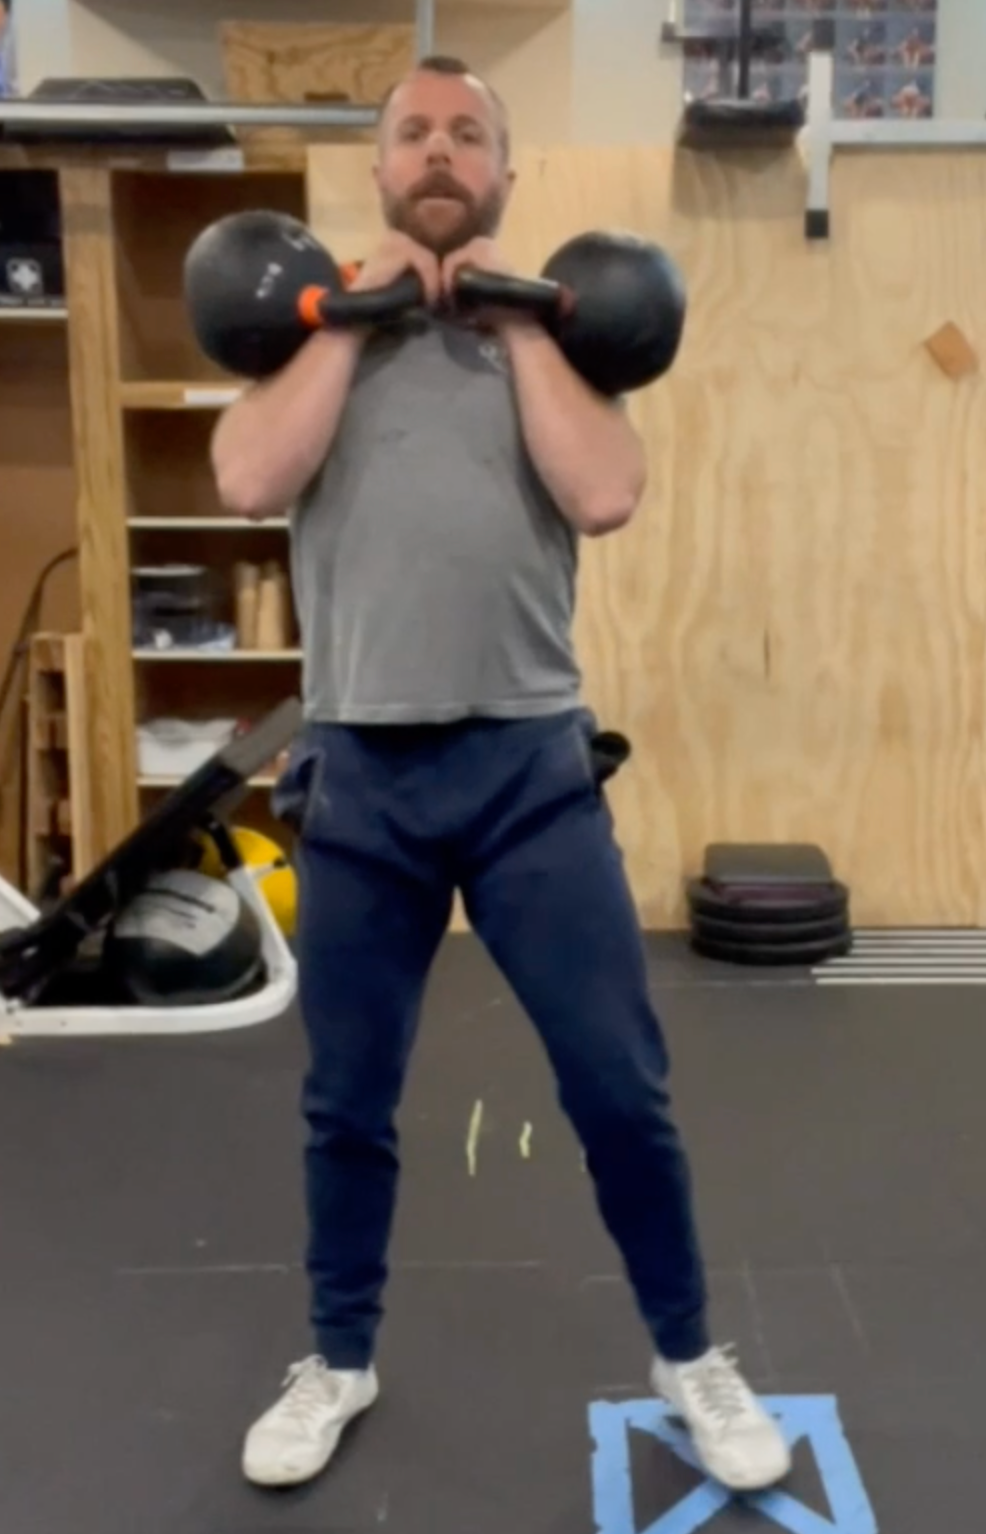
  • Double-kettlebell front squat

The best variation is the one that allows the lifter to train the desired pattern without forcing a position they cannot yet control.

For someone who wants to perform Olympic lifts, improving the traditional front rack should remain a priority. For someone whose primary goal is general strength, muscle development, or longevity, another front-loaded squat variation may be completely appropriate.

The exercise should serve the person. The person should not be forced to serve the exercise.

How to Improve the Front Rack

Improving the front rack usually requires both mobility and active control.

Helpful strategies may include:

Front rack holds

Place an empty bar or lightly loaded bar in the rack position and practice supporting it across the shoulders. Focus on breathing, trunk position, and keeping the hands relaxed.

Strap-assisted front rack work

Loop lifting straps around the bar and hold the ends of the straps. This allows the lifter to practice the shoulder and elbow position without requiring as much wrist extension.

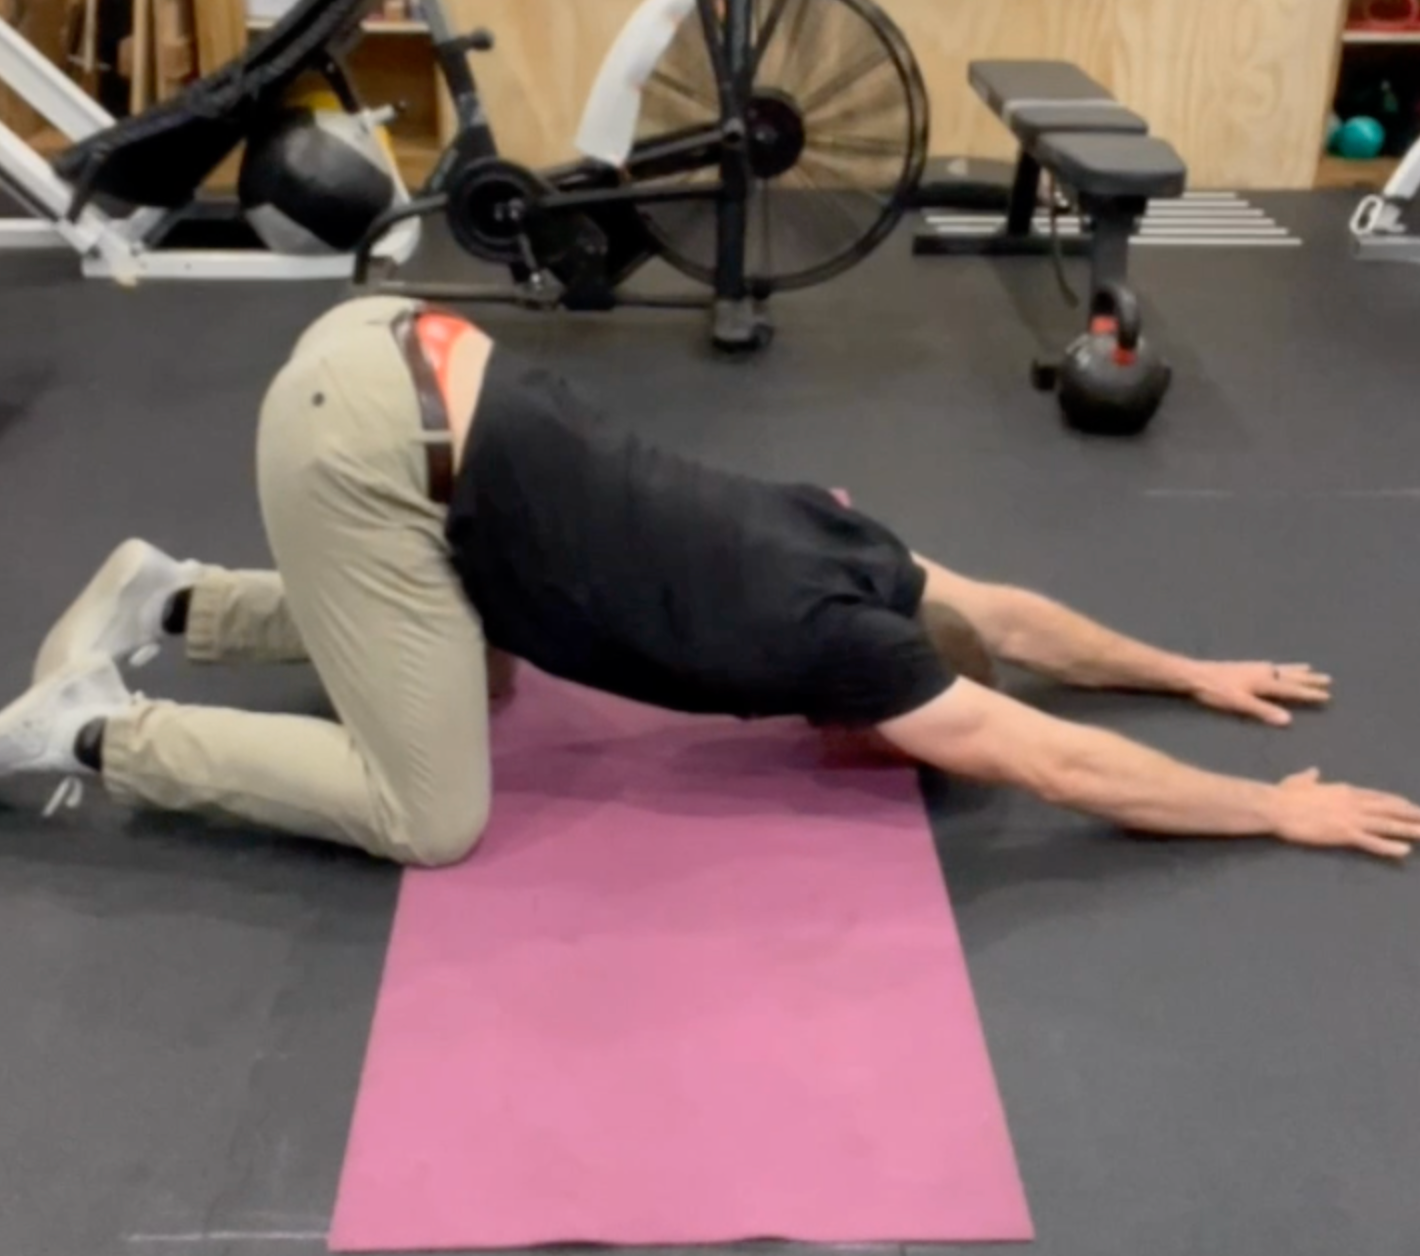
Upper-back extension work

Controlled thoracic extension over a bench, roller, or other appropriate support can help a lifter explore a more upright upper-back position.

Lat and triceps mobility

Targeted mobility work can be useful when these tissues clearly limit the ability to bring the elbows forward and upward.

Goblet squats and double-kettlebell squats

These variations teach front-loaded squatting while building the trunk and upper-back strength needed for a barbell front squat.

Tempo front squats

Once the position is secure, slower eccentrics and pauses can help the lifter develop control without immediately chasing heavier loads.

The goal is not to force more range at any cost. The goal is to gradually build a position the lifter can own.

Do Not Add Load to a Position You Cannot Maintain

One of the most common front squat mistakes is adding weight before the rack position is ready.

A lifter may have enough leg strength to stand up with the bar, but if the elbows collapse, the wrists absorb the load, or the torso loses position, the set is no longer developing the qualities it was intended to train.

Before increasing weight, ask:

  • Is the bar staying supported by the shoulders?
  • Are the elbows remaining relatively consistent?
  • Can the lifter maintain pressure through the whole foot?
  • Is the trunk staying controlled?
  • Does the position remain comfortable enough to repeat?
  • Can the lifter exit the lift safely if a repetition is missed?

Progress should be earned through better positions, better control, and then greater load.

The Front Rack Is a Skill

A good front rack is not something every person automatically possesses. It is a skill that can be assessed, modified, practiced, and improved.

For some lifters, the position improves quickly with a few technical adjustments. For others, it may require weeks of mobility work, upper-back strengthening, and gradual exposure.

That is normal.

The front squat should not be judged solely by how much weight is on the bar. A lighter front squat performed with a stable rack, controlled tempo, and strong positions is often far more productive than a heavier squat performed while fighting the bar throughout the entire set.

Build the shelf. Control the trunk. Keep the bar secure. Then earn the right to add weight.

A strong front rack does not just make the front squat look better. It makes the movement more comfortable, more repeatable, and ultimately more useful.
By Andrew Williams July 3, 2026
Small jumps still count
By Andrew Williams April 30, 2026
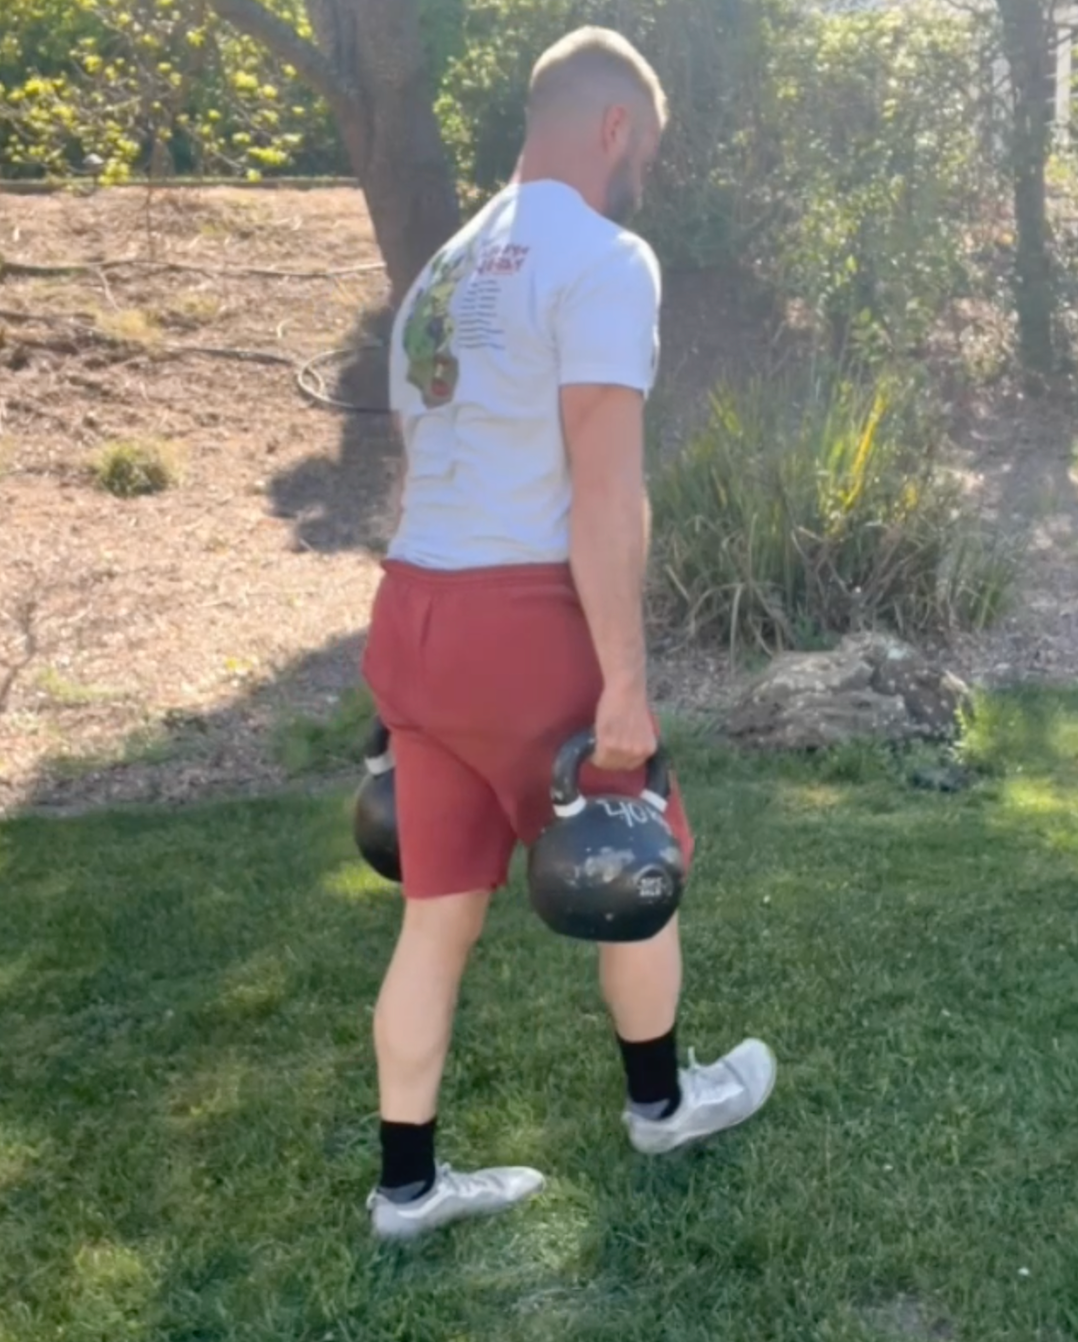
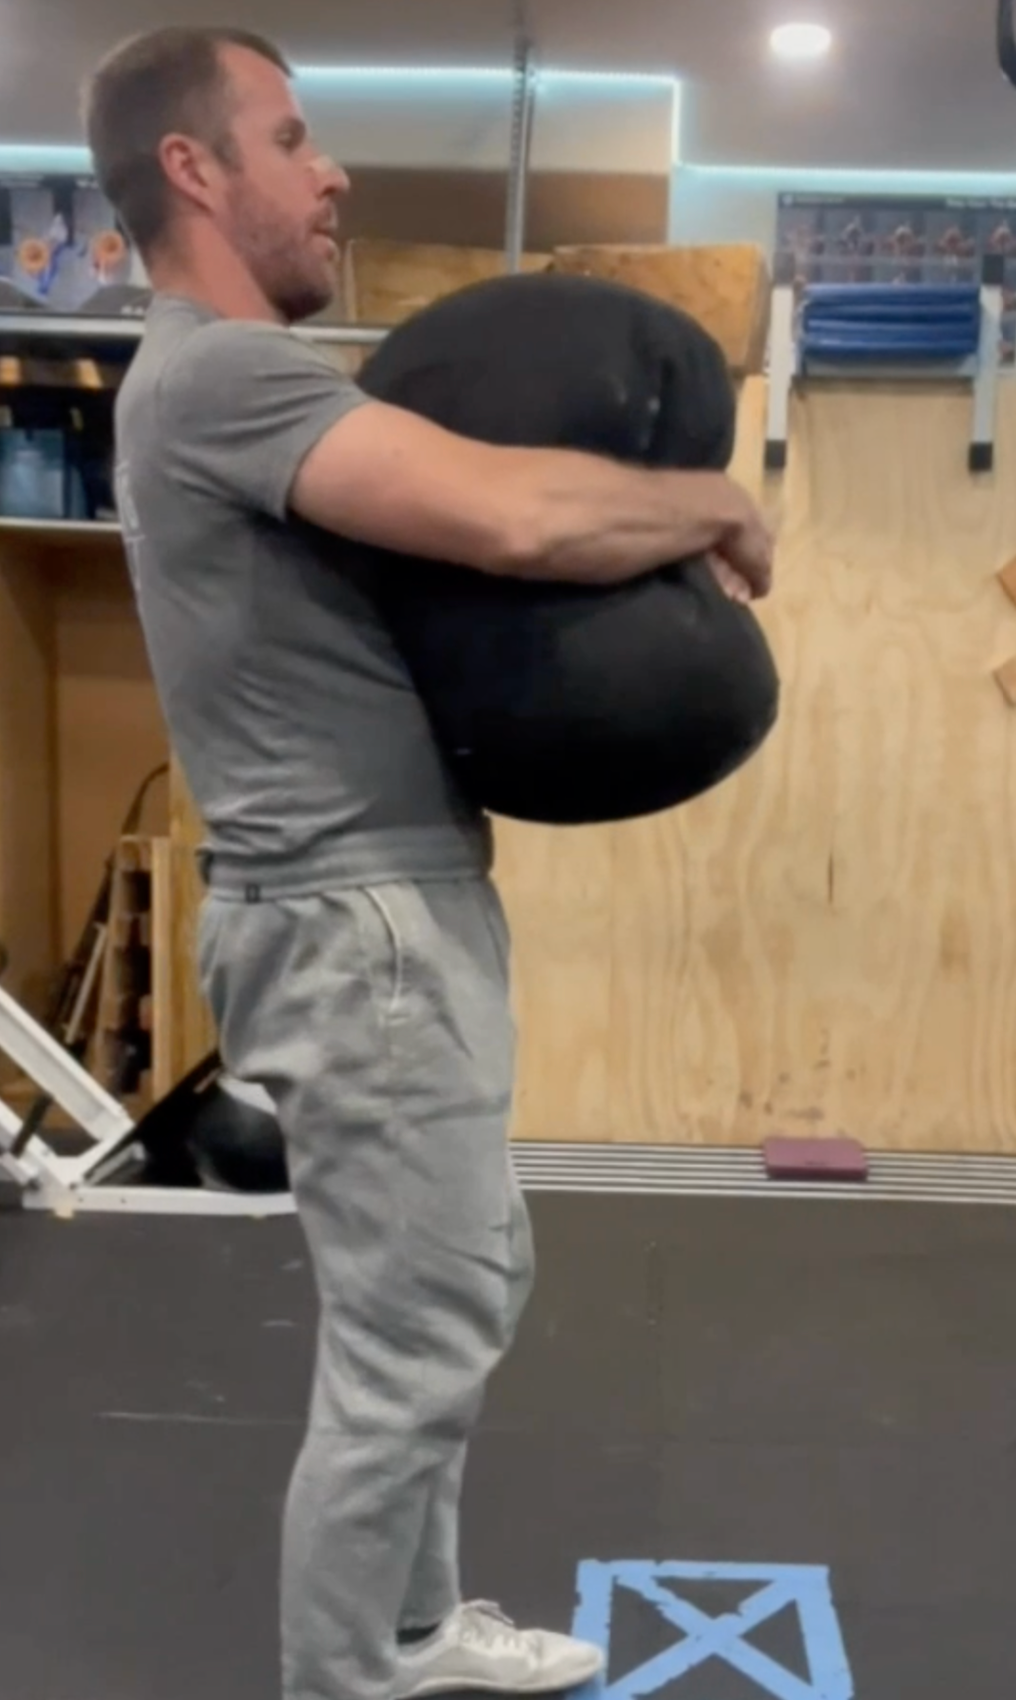
The Value of the Sandbag Bear Hug Carry
By Andrew Williams April 30, 2026
The Value of the Double Kettlebell Front Rack Carry
By Andrew Williams April 30, 2026
The Value of Farmer’s Carries: Simple, Effective, and Real Strength
By Andrew Williams March 12, 2026
Most people start their day the same way: wake up, brush their teeth, get ready for work, sit in the car, sit at a desk, come home, eat dinner, and eventually head back to bed. If you really think about it, there’s a good chance your body never moved through meaningful ranges of motion all day. Your spine may not have rotated. Your shoulders may not have gone overhead. Your hips may never have opened up. Your ankles and wrists might have stayed in the same limited positions for hours at a time. That’s where a simple six-minute morning movement routine can make a real difference. https://www.youtube.com/watch?v=bqlapofiwjU&t=4s Start the Day by Moving When you wake up, your body has just spent six to nine hours in relatively fixed positions. Depending on how you sleep, you may have been curled up, twisted, extended, or compressed in certain areas. Even if you sleep well, your joints simply haven’t moved for hours. Taking a few minutes in the morning to move through basic ranges of motion helps wake everything up. It doesn’t need to be intense. It doesn’t need to make you sweat. The goal is simply to take your joints through healthy movement patterns so your body feels more connected and ready for the day. Think of it as pressing the reset button on your body before the day begins. Why Six Minutes Works One of the biggest barriers to movement is time. People assume they need a full workout, a long stretching routine, or a trip to the gym. The reality is that small habits performed consistently can have a huge impact. Six minutes may not sound like much, but it adds up quickly. 6 minutes per day 42 minutes per week Over 35 hours of movement per year That’s 35 hours spent taking your joints through healthy ranges of motion that you might not otherwise experience. Consistency always beats occasional perfection. Guaranteeing Movement Before the Day Gets Away Life gets busy. Work runs long. Kids need attention. Traffic happens. Meetings pile up. The gym gets skipped. But when you build a short movement routine into the first few minutes of your morning, you guarantee that your body gets at least some quality movement that day. Even if the rest of your day ends up sedentary, you’ve still done something positive for your body. Moving Through the Ranges We Often Miss A short morning routine should focus on moving joints through the ranges that modern life tends to neglect. For many people, that means: Rotating the spine Reaching overhead with the shoulders Opening up the hips and groin Moving the ankles through full range Activating the wrists and elbows These are all areas where people commonly develop stiffness or discomfort simply because they don’t move them enough throughout the day. You don’t need complicated exercises or equipment. Basic movement done consistently goes a long way. A Better Way to Wake Up Morning movement can also be a great alternative to immediately diving into screens or stressful tasks. Instead of waking up and jumping straight into emails, news, or social media, you spend a few minutes reconnecting with your body. Many people notice that they feel less stiff, more awake, and more focused after just a few minutes of moving. It’s a simple habit that can set a positive tone for the rest of your day. Simple is the Goal This isn’t meant to be the perfect mobility routine. It’s not a full workout and it’s not a complicated program. It’s simply a quick way to move your body from wrists to ankles, taking your joints through healthy ranges before the day really begins. Six minutes. No equipment. Just movement. And over time, those six minutes can make a meaningful difference in how your body feels every day.
By Andrew Williams February 17, 2026
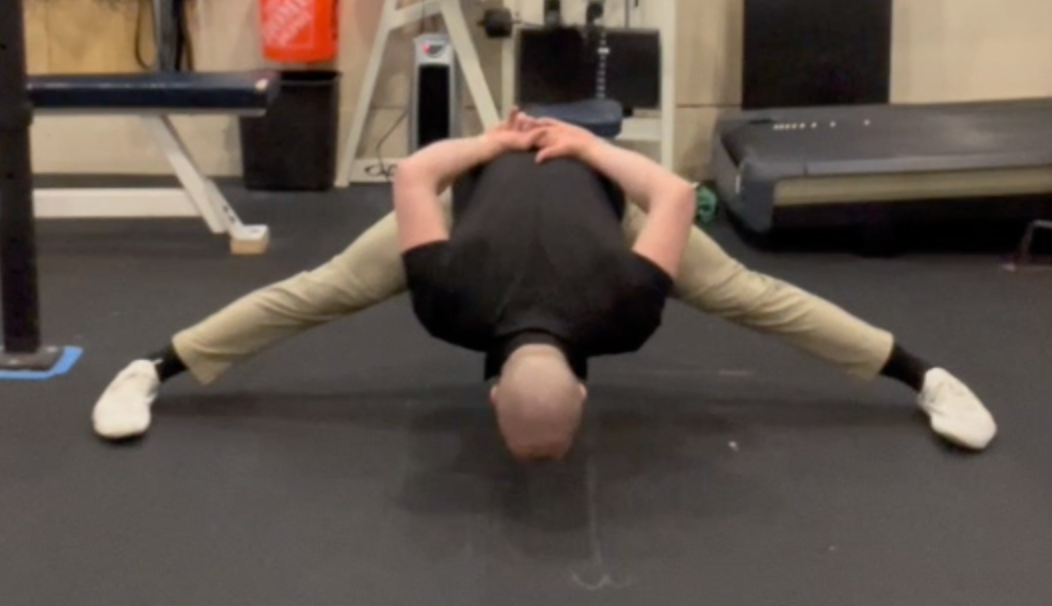
The Standing Pancake Good Morning: Where Mobility and Strength Meet Most people think mobility means stretching. Being able to get into a position. In reality, mobility is something different entirely: the ability to control yourself through a range of motion and come back out of it. That’s where the standing pancake good morning shines. What Is the Standing Pancake Good Morning? The standing pancake good morning is a wide-stance hip hinge performed without external load. Your feet are set wide, your knees stay relatively straight, and you hinge at the hips while maintaining a long spine. From the bottom position, you actively pull yourself back up to standing. It looks simple. It is not. Why This Movement Matters 1. It Trains a Wide-Stance Hip Hinge Most Programs Miss Most training programs live in narrow or moderate stances: Squats Deadlifts Lunges Wide-stance hinging — especially with straighter knees — is rarely trained intentionally. When it does show up, it’s usually load-driven (like a sumo deadlift), not position-driven. The standing pancake good morning fills that gap by challenging the hips in a way many people simply haven’t explored. 2. It Strengthens the Hips at Long Lengths Many people stretch their adductors and hamstrings passively but never strengthen them in those lengthened positions. This movement demands: Adductor engagement Hamstring contribution Hip control at end range You’re not just “getting into” the position — you’re learning to own it. 3. It Exposes Compensations Immediately If someone lacks hip control, the body will try to steal movement from somewhere else: Lumbar flexion Collapsing into the bottom Using momentum to stand back up Done correctly, the standing pancake good morning doesn’t allow much hiding. It quickly shows whether the hips are actually doing the work. 4. No Equipment, High Return One of the best things about this movement is that you don’t need anything to do it. No barbell. No bands. No machines. And yet, even a few controlled reps can be extremely challenging. Because the difficulty comes from position and control, not external load, it’s a great option for: Warm-ups Low-threat strength work Longevity-focused training People managing back sensitivity How to Use the Standing Pancake Good Morning This is not a max-effort lift. It’s a positional strength drill. Start Elevated If reaching the floor compromises control, hinge toward an incline bench or box in front of you. As control improves, lower the target over time. Progress Stance Width Gradually widen your stance toward a pancake position. Wider isn’t better unless you can control it — earn it over time. Progress Depth, Not Load The main progression is how deep you can hinge while staying controlled, not how much weight you add. Can you touch your head toward the floor and return to standing without collapsing or rounding? Simple Prescription For most people: 2 sets 4–8 slow, controlled reps Bodyweight only That’s plenty. Who This Movement Is (and Isn’t) For This movement works best for people who: Want to improve hip control, not just flexibility Are ER-dominant and avoid wide-stance positions Need low-load hinge options Care about long-term joint health It’s not ideal for people who: Consistently hinge by rounding their spine Rush through reps Treat it like a stretch instead of a strength drill As with any movement, quality matters more than depth. The Bigger Picture The standing pancake good morning sits right at the intersection of flexibility and strength. It teaches you that: Getting into a position isn’t the same as owning it Strength doesn’t always require load Control through range is what keeps you training long term Used intentionally, it’s a simple movement that delivers a lot.
By Andrew Williams February 17, 2026
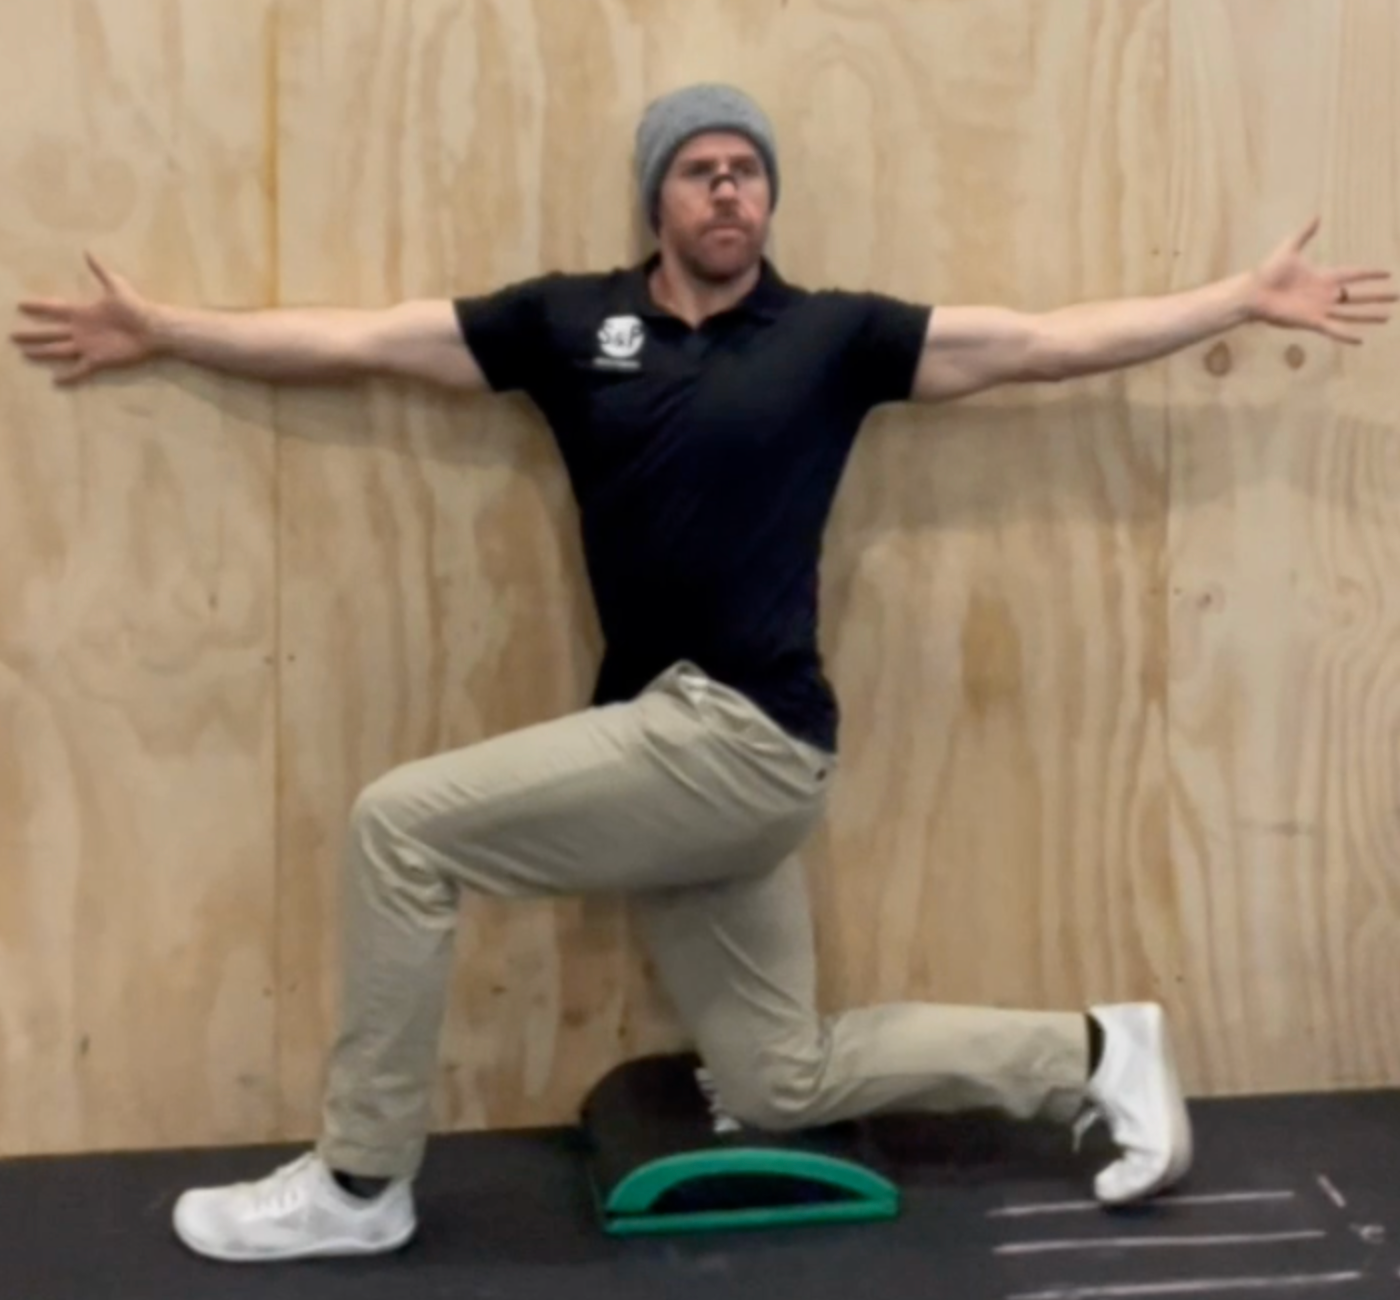
Most people wake up curled up. Eight hours in some version of the fetal position. Shoulders forward. Upper back rounded. Hips flexed. Neck slightly craned. Then we stand up and expect to move well. If your mid-back (thoracic spine) doesn’t move well, something else will move for it. Usually your lower back or your shoulders. That’s where a lot of aches start. Your thoracic spine is built to rotate. Your lumbar spine (low back) is not. When the mid-back gets stiff: The shoulders lose clean overhead position The low back overextends to “fake” rotation Posture drifts forward Breathing becomes more shallow Reaching, throwing, lifting, and even walking feel tighter than they should That’s why I like keeping thoracic rotation simple and consistent. The Half-Kneeling Thoracic Rotation If I had to pick one drill most people could benefit from doing daily, it would be the half-kneeling thoracic rotation. No equipment. Two minutes. Big return. Why Half-Kneeling? Half-kneeling locks in your hips so you don’t cheat the movement from your lower back. It forces the rotation to come from where it’s supposed to come from — your ribcage and mid-back. It also gives you: A built-in glute activation on the down leg A natural tall posture A stable base to rotate from You can even hold yourself accountable by setting up next to a wall and lightly pinning a yoga block (or even your knee) into the wall. That way you know your hips aren’t drifting and stealing motion. How to Perform It Set up in a half-kneeling position (one knee down, one foot forward). Squeeze the glute of the down leg. Stay tall — don’t arch your lower back. Rotate through your ribcage toward the front knee. Reach long with your fingertips. Breathe at end range. 5 slow reps each side. The goal isn’t speed. The goal is control. Take Up Space One of the reasons I like this drill so much is how it feels. You go from being curled up and compressed… to opening up and taking space. Spread your fingertips. Open your chest. Grow tall through the crown of your head. It’s the opposite of how most of us spend our day. That feeling alone is powerful. But over time, it also improves: Overhead mobility Shoulder comfort Rotational capacity Postural awareness Breathing mechanics Morning or Evening? This drill works both ways. In the morning: It wakes up your spine, resets your posture, and gets you out of that flexed sleeping position. In the evening: It helps decompress from sitting and screen time, and gives you a moment to slow down and breathe. It’s not flashy. It won’t leave you sweaty. But done daily, it quietly improves how you move and how you feel. Consistency Over Complexity You don’t need a 30-minute mobility routine. You need something simple enough to actually do. Half-kneeling thoracic rotations take two minutes. That’s it. Five reps each side. No equipment. No excuses. Start there.
By Andrew Williams January 26, 2026
Why Fitness Training Is Essential If You Work in the Trades Construction, plumbing, electrical, concrete, landscaping—work in the trades is real work. Long hours on your feet. Heavy loads. Awkward positions. Repetitive motions. Most people outside the trades underestimate just how physically demanding these jobs are. The problem? Most tradespeople rely on work itself to keep them “in shape.” And while the job is physical, it’s not the same as training. Over time, that gap shows up as pain, injuries, and burnout. Fitness training isn’t about becoming a bodybuilder or athlete—it’s about keeping your body working for you instead of against you. Work Is Stress. Training Is Preparation. Every trade places stress on the body: Lifting and carrying heavy materials Twisting, reaching, kneeling, and climbing Repetitive tasks that load the same joints every day Stress isn’t bad—but unprepared stress is. Proper fitness training: Builds strength in the muscles that protect your joints Improves mobility so your body can get into safe positions Increases work capacity so fatigue doesn’t break down technique Think of training as sharpening your tools. You wouldn’t show up with dull blades or worn-out gear—your body deserves the same respect. Strength Protects Your Back, Knees, and Shoulders Most trade-related injuries happen in predictable places: Low back Knees Shoulders Elbows and wrists Strength training helps by: Teaching the body how to produce force safely Strengthening connective tissue (tendons and ligaments) Balancing muscles so no single joint takes all the load A strong body distributes force better. That means less wear and tear over decades of work—not just fewer injuries this year. Mobility Keeps You Working, Not Just Strong Being strong isn’t enough if you can’t move well. Limited ankle mobility affects lifting mechanics. Tight hips stress the lower back. Stiff shoulders overload elbows and wrists. Mobility training: Allows joints to move through their full range Reduces compensation patterns Makes everyday tasks feel easier and smoother Good mobility doesn’t make you “loose.” It makes you durable. Conditioning = Energy at the End of the Day A lot of tradespeople say: “I’m exhausted after work. I don’t have energy to train.” What’s often missing is conditioning. Targeted conditioning: Improves heart and lung efficiency Increases recovery between efforts Reduces overall fatigue on long workdays The goal isn’t to gas you out—it’s to make your normal workday feel less draining. That means more energy for your family, hobbies, and life outside the job. Longevity Matters More Than Toughness Trades reward toughness—but toughness alone doesn’t pay off long-term. Without training, many workers hit a wall: Chronic pain becomes “normal” Injuries linger longer Work quality drops Retirement feels broken, not earned Fitness training shifts the focus from “how much can I push today” to: “How long can I keep doing this well?” That’s the real win. Training for the Trades Looks Different Fitness for tradespeople is not about: Maxing out every lift Training to exhaustion Following influencer workouts It is about: Full-body strength Joint health Core stability Grip strength Carrying, hinging, squatting, pressing, and pulling well Training should support your job—not compete with it. Bottom Line If you work in the trades, your body is your livelihood. Fitness training: Reduces injury risk Improves job performance Extends your career Improves quality of life outside of work You don’t need to train like a pro athlete—but you should train like a professional tradesperson. Your body does the work. Training keeps it doing that work for decades to come.
By Andrew Williams January 21, 2026
Why Wrist Health and Strength Matter for Front Squats and Overhead Squats Strong, mobile wrists might not be the first thing that comes to mind when people think about squats, but for movements like front squats and overhead squats, they are absolutely critical. These variations place unique demands on the wrists, elbows, shoulders, and entire upper kinetic chain, and without proper wrist function, performance can be limited and injury risk increases. The Wrist’s Role in Front Squats In a front squat, the bar rests on the front of the shoulders, and the typical hand position requires: Elbows high and forward Wrists in extended and loaded positions A secure front rack grip If the wrists lack mobility or strength: The lifter may compensate by rolling the wrists back, which shifts weight forward and destabilizes the rack. The elbows may drop, leading to a collapsed posture and increased stress on the lower back. The shoulders have to work overtime to stabilize the bar, often resulting in discomfort or pain. In other words: poor wrist health can directly sabotage your front squat mechanics. The Wrist’s Role in Overhead Squats Overhead squats make even greater demands: The bar is held overhead throughout the full depth of the squat The wrists must support load in a deep extension The forearms, shoulders, and upper back must unite to stabilize the load Inadequate wrist mobility or strength here can lead to: The bar drifting forward Loss of balance or “float” Extra stress on the elbows and shoulders Compensations elsewhere in the chain Overhead squats reveal weaknesses in the entire shoulder-girdle and wrist system — if the wrists are a weak link, the whole lift suffers. Why Wrist Strength and Mobility Matters 1. Stability Under Load During both front and overhead squats, the wrists act as a crucial link between the bar and the rest of the body. Strong wrists help maintain tension up the chain, improving stability and reducing unwanted movement. 2. Better Mechanics = Better Performance When the wrists can comfortably hold the load in the required positions, the body can focus on: Driving hips Staying upright Maintaining a strong rack or overhead position This translates to heavier lifts and more confident movement. 3. Injury Prevention Weak or immobile wrists force compensations: Rounded elbows Collapsing wrists Shoulder discomfort Uneven grip stress Over time, these compensations can lead to chronic pain or joint irritation. Training wrist health helps athletes durably withstand loading demands. Simple Strategies to Improve Wrist Health Working on wrist strength and mobility doesn’t have to be complicated. Incorporate: Wrist mobility work (flexion/extension stretches) Wrist strengthening (isometric holds, wrist curls) Loaded positional holds (front rack or overhead with light weight) Band or tube-enhanced work to reinforce stability Consistency matters more than intensity here — small daily habits build resilient wrists. To see an example routine and explanation of wrist health in action, check out this video: ๐Ÿ‘‰ https://www.youtube.com/shorts/7oeW4ltr7eE
By Andrew Williams December 24, 2025
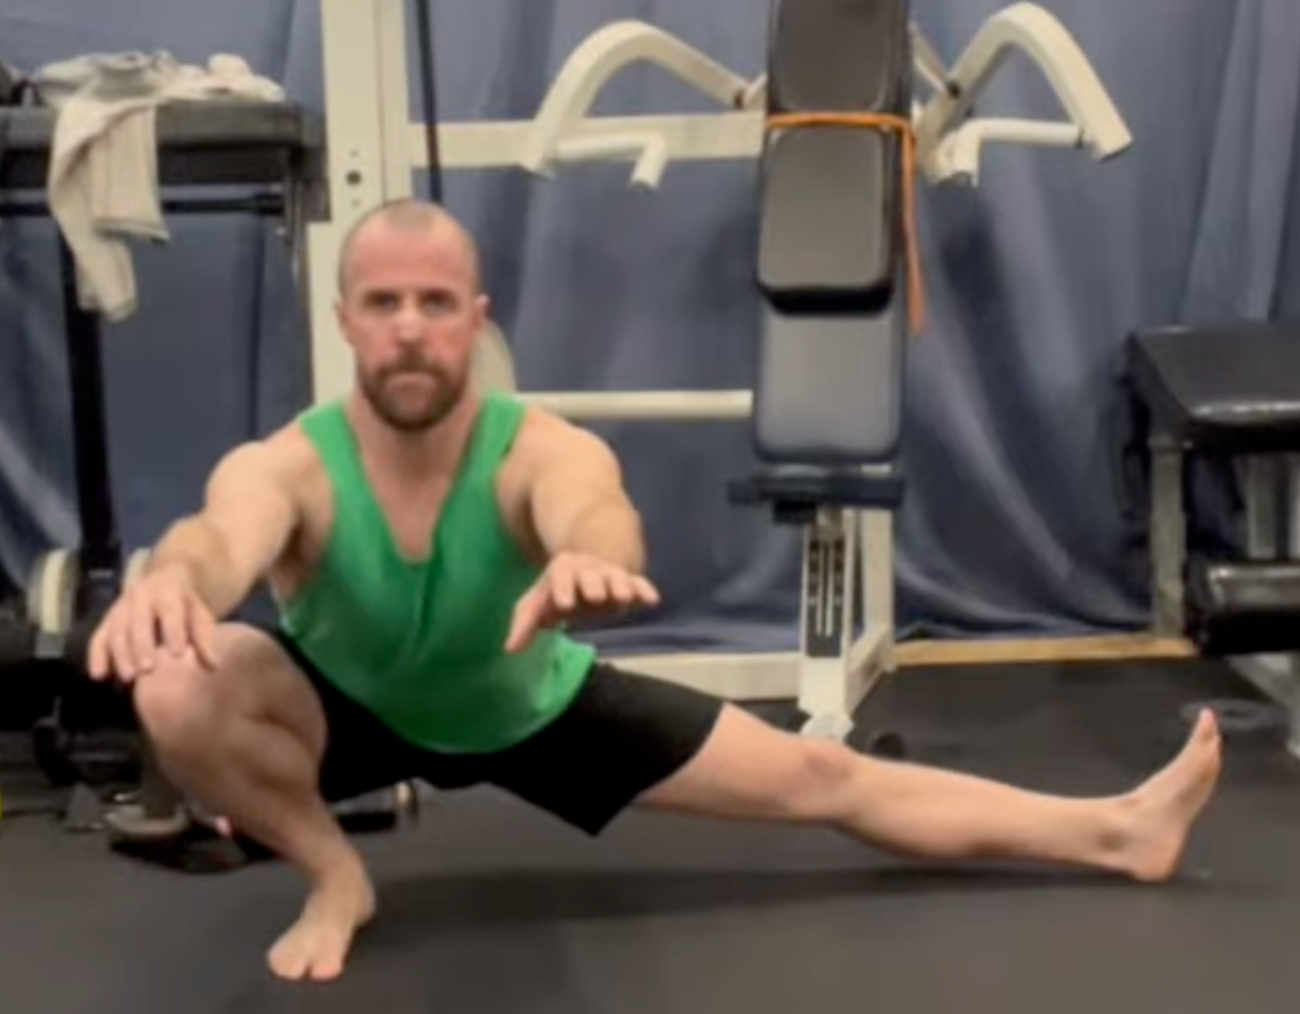
The Cossack squat is one of the most valuable lower-body movements you can include in a training program. It combines strength, mobility, and control into a single exercise and exposes the hips, knees, and ankles to positions that traditional bilateral squats often miss. Whether used as a warm-up, mobility drill, or loaded strength movement, the Cossack squat builds resilient joints and usable range of motion. What Is a Cossack Squat? A Cossack squat is a lateral squat where one leg bends deeply while the other leg stays extended. The working side moves through deep hip flexion, knee flexion, and ankle dorsiflexion, while the non-working leg remains long and externally rotated. This creates a powerful unilateral challenge while encouraging active mobility. Unlike passive stretching, the Cossack squat develops strength in end ranges, which is critical for long-term joint health and athletic performance. Key Benefits of the Cossack Squat 1. Improves Hip Mobility and Control The Cossack squat opens the hips in multiple planes, especially adduction and external rotation. This is particularly valuable for athletes who squat, run, or change direction frequently. More importantly, it builds control in these ranges rather than just flexibility. 2. Builds Unilateral Strength Each rep places most of the load on one leg, helping to identify and reduce left-to-right imbalances. This unilateral demand carries over well to sports, lifting, and everyday movement. 3. Enhances Ankle Dorsiflexion The deep bend of the working leg requires the ankle to move forward over the foot. Over time, this can improve ankle mobility, which is often a limiting factor in squatting and lunging patterns. 4. Strengthens the Groin and Adductors The extended leg must stay active throughout the movement. This trains the adductors eccentrically and isometrically, making the Cossack squat an excellent tool for groin health and injury prevention. 5. Promotes Joint Health and Longevity By training the hips, knees, and ankles through large ranges of motion, the Cossack squat helps maintain joint integrity and adaptability. This is especially important as we age or increase training loads. Cossack Squat Variations and Their Uses Assisted Cossack Squat Using a support such as a post, rings, or a squat rack allows you to offload some body weight. This variation is ideal for beginners or for mobility-focused sessions where depth and control are the priority. Bodyweight Cossack Squat This is the foundation movement. It challenges balance, coordination, and strength while allowing you to own the full range of motion. Slow tempos and pauses at the bottom can increase the training effect. Goblet Cossack Squat Holding a kettlebell or dumbbell in front of the chest adds counterbalance and light loading. This helps maintain an upright torso and introduces additional strength demands without overwhelming the movement. Front-Loaded Cossack Squat Using a barbell or heavier load in front of the body increases core and upper-back engagement. This variation is useful for advanced lifters who want to push unilateral strength further. Heels-Elevated Cossack Squat Elevating the heel of the working leg can help individuals with limited ankle mobility access deeper positions while still training strength and control. Paused or Tempo Cossack Squat Slowing down the descent or adding pauses at the bottom builds strength in the deepest ranges. This is one of the most effective ways to turn the Cossack squat into a serious strength movement. How to Program the Cossack Squat The Cossack squat is extremely versatile and can be used in multiple ways: As a warm-up to prepare hips and ankles for squats or deadlifts As a primary unilateral strength exercise As a mobility-focused movement on recovery or low-intensity days As accessory work to support athletic performance Sets of 3–6 reps per side work well for strength, while higher reps or slow controlled reps are better for mobility and tissue resilience.